20 Stunning Black Toenail Designs: Elegant, Bold & Chic Pedicure Ideas
Have you ever wondered why black toenail polish never goes out of style? What makes this dark hue a constant favorite in the realm of pedicure choices? In this article, we explore various black toenail designs that can transform your toes into a statement piece. From the subtle elegance of plain black polish to intricate designs adorned with rhinestones, each style offers a unique expression of personal flair. Whether you’re preparing for a special occasion or just want to add a touch of sophistication to your everyday look, black toenails provide a versatile and striking option.
Classic Matte Black
The first design is a testament to the timeless appeal of matte black toe nail polish. This look is all about sophistication and understated elegance, perfect for those who prefer a sleek, no-fuss appearance. The matte finish provides a modern twist on the classic glossy black, making it an excellent choice for both casual and formal occasions.
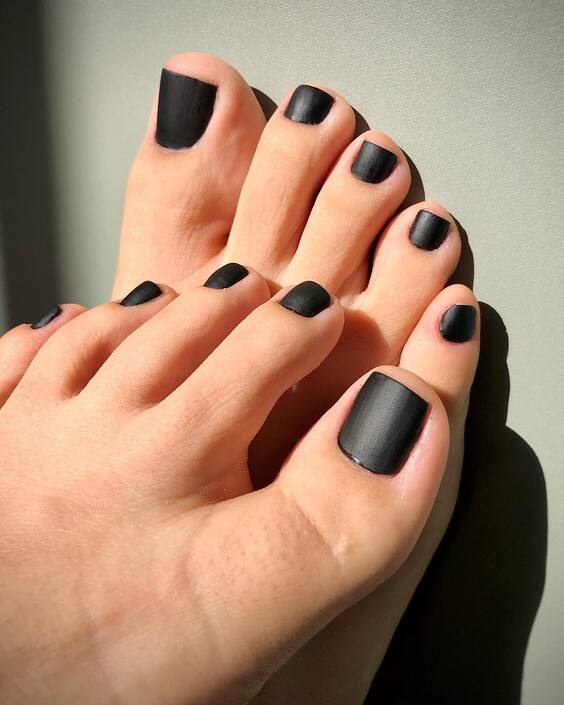
- Consumables:
- OPI Matte Top Coat
- Essie Black Nail Polish “Licorice”
- Nail polish remover and cotton pads for cleanup
DIY Tips
Start with a clean, dry pedicure. Apply two coats of Essie “Licorice” for a deep black base. Once dry, finish with the OPI Matte Top Coat to achieve the velvety matte effect. Ensure each layer is completely dry before applying the next to avoid smudges.
Glamorous Black with Rhinestones
This design elevates the basic black toe nails by incorporating rhinestones, creating a glamorous and eye-catching look. It’s perfect for special occasions like weddings or holiday parties where you want to make a statement with your toes. The shiny stones against the dark black create a stunning contrast that’s both bold and beautiful.
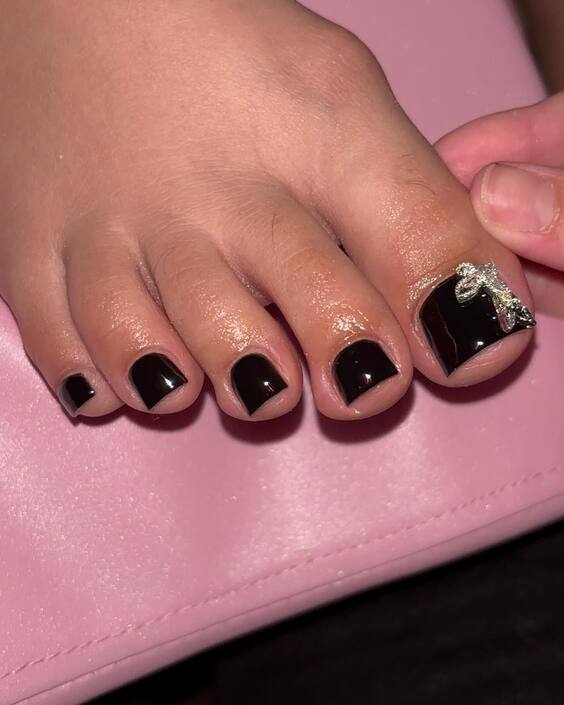
- Consumables:
- Sally Hansen Black Out Nail Polish
- Swarovski Crystal Rhinestones
- Nail glue for securing the stones
- High-gloss top coat for a durable finish
DIY Tips
After applying your black polish, use a small dab of nail glue to place the rhinestones on your nails while the polish is still tacky. Arrange them in your desired pattern. Seal everything with a high-gloss top coat to ensure longevity and enhance the sparkle of your rhinestones.
Modern Art Deco
This look features black toe nail designs with a unique twist, incorporating geometric patterns that give a nod to Art Deco style. It’s a creative option for those who enjoy expressive and artistic nail art. The clean lines and sharp contrasts highlight precision and attention to detail.
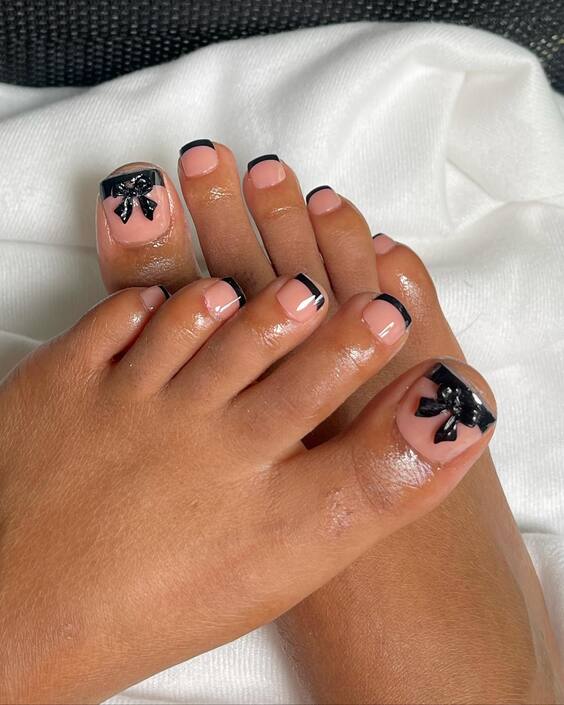
- Consumables:
- Base coat and top coat for longevity and shine
- Black nail polish (recommendation: Chanel Le Vernis Longwear Nail Colour)
- White nail art pen for detailed designs
- Nail tape for precise lines
DIY Tips
Apply a base coat to protect your nails. Use nail tape to outline your geometric patterns, then fill in the designs with black polish. Use a white nail art pen to add intricate details. Finish with a glossy top coat to make the design pop and last longer.
Chic Animal Print and Black
This nail design cleverly mixes black toe nails with playful white and black toe nails with design featuring animal prints. It strikes a fine balance between fun and sophistication, making it an ideal choice for those looking to spice up their style with a hint of the wild.
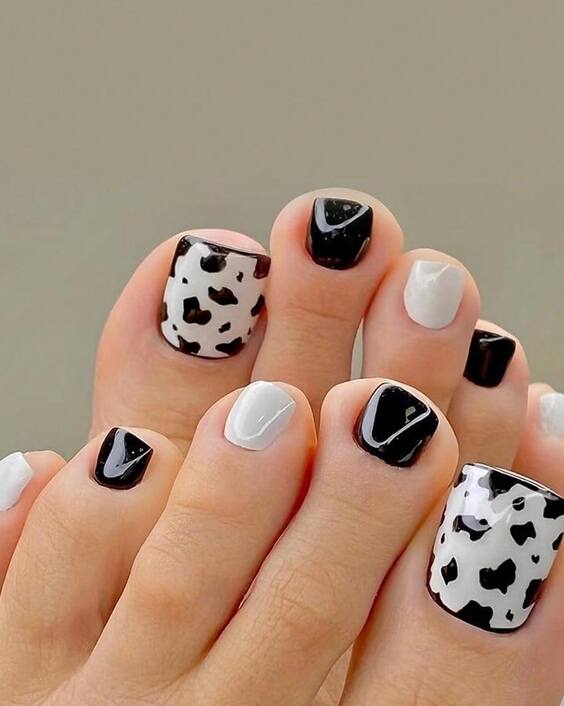
- Consumables:
- Black and white nail polish
- Thin brush for detailed animal print
- Quick-dry top coat for a seamless finish
DIY Tips
Start with a base coat of white on the nails that will feature animal prints. For the black base nails, apply two coats of black polish for an opaque finish. Use a thin brush to hand-paint the animal patterns on the white nails, and finish all nails with a quick-dry top coat to seal in the design and add gloss.
Elegant Black with Blue Rhinestones
This black toe nails with rhinestones design showcases a lavish use of blue rhinestones, creating an opulent look that’s perfect for events where you want to shine. The deep black polish provides a dramatic backdrop for the sparkling blue stones, enhancing their vibrancy.
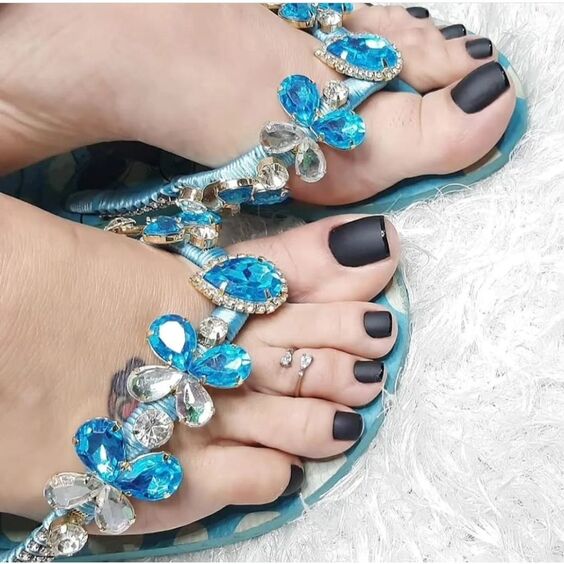
- Consumables:
- Deep black gel polish
- Blue rhinestones in various sizes
- Gel top coat for a long-lasting glossy finish
- Rhinestone picker tool for easy application
DIY Tips
Apply a gel black base and cure under a UV lamp. While the second coat is still tacky, use the rhinestone picker to place blue stones as desired. Cure this under the UV lamp to secure the rhinestones, and seal with a gel top coat for durability and extra shine.
Modern Minimalist with Black Tips
Focusing on minimalism, this design features black toe nail designs pedicures with a modern twist. The nails are mostly natural in color with striking black tips that provide a contemporary edge to the classic French tip design.
- Consumables:
- Nude base polish
- Black polish for the tips
- Fine-tip brush for precision
- High-shine top coat to enhance the overall look
DIY Tips
Apply a nude base coat and let it dry completely. Using a fine-tip brush, carefully paint the tips with black polish to create a clean line. Finish with a high-shine top coat to merge the design elements smoothly and to give your pedicure a professional look.
Zebra Stripes Elegance
The next nail design is a chic interpretation of zebra stripes, utilizing black toe nails with design and white to create a dramatic and visually striking pattern. This look is perfect for those who love graphic prints and want to make a bold fashion statement with their pedicure.
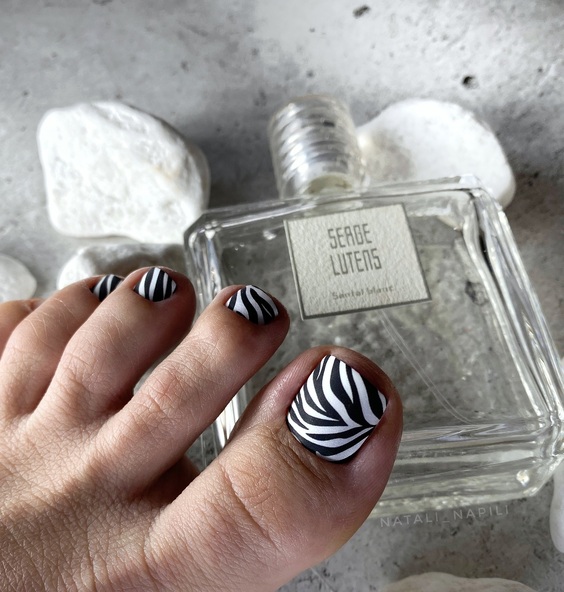
- Consumables:
- White nail polish as the base color
- Black nail art striping tape or a thin brush for the stripes
- High-gloss top coat to enhance and protect the design
DIY Tips
Begin with a white polish as the base on each toe. Once dry, use black striping tape or a thin brush to create zebra patterns. The key to perfect stripes is keeping the lines thin and evenly spaced. Finish with a high-gloss top coat to give the design a sleek, finished look.
Cartoon Fun with Mickey
This design incorporates a playful element into the black toe nail art, featuring a beloved cartoon character, Mickey Mouse. It combines fun with fashion, suitable for all ages and perfect for theme parties or simply to bring some joy to your routine.
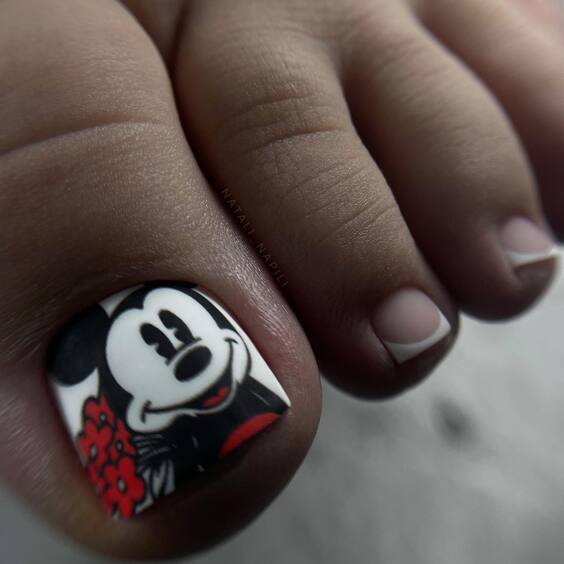
- Consumables:
- Black nail polish for the base
- Pre-designed Mickey Mouse nail stickers or hand-painted with acrylic paint
- Clear top coat to seal the design
DIY Tips
Apply a black polish as the base. Once it’s dry, place Mickey Mouse stickers on the nails, or if you’re painting by hand, use a fine brush and acrylic paint to recreate Mickey’s silhouette. Finish with a clear top coat to protect your playful pedicure.
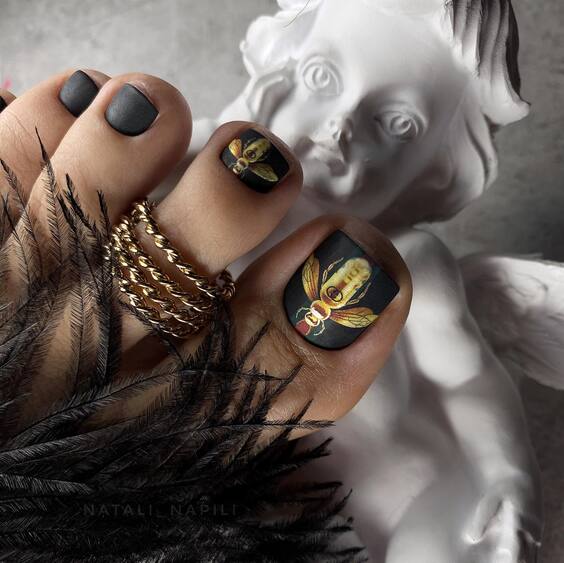
Vintage Glam with Baroque Accents
This design is truly a work of art, featuring intricate baroque-style embellishments on a matte black base. The use of gold accents adds a touch of luxury and elegance, making this black toe nails with design classy perfect for formal events or when you want your feet to make an opulent statement.
- Consumables:
- Matte black nail polish for the base
- Gold nail decals or hand-painted with a fine-tip gold paint
- Matte top coat to maintain the sophisticated finish
DIY Tips
Start with a matte black base coat. Carefully apply gold decals or hand-paint baroque patterns using a fine-tip brush and gold paint. It’s important to maintain a steady hand to achieve the detailed designs. Finish with a matte top coat to enhance the vintage feel and protect the intricate artwork.
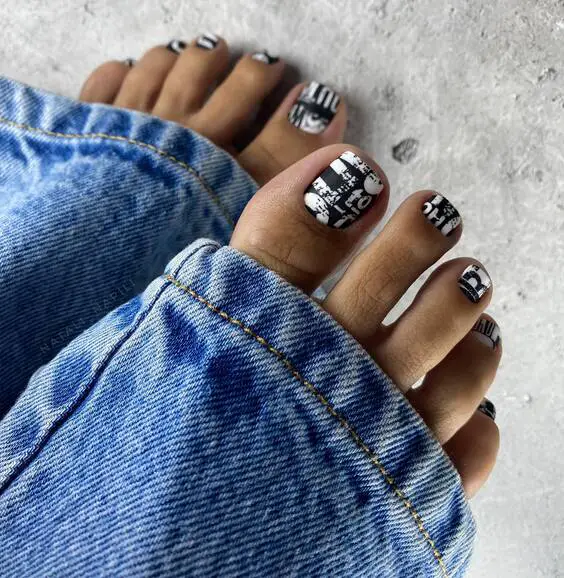
Urban Chic Typography
This black and white design transcends the traditional, incorporating bold typography across a crisp white background. It’s a statement look that captures a modern, urban vibe, making it ideal for those who enjoy edgy and expressive toe nail designs.
- Consumables:
- White nail polish as the base
- Black nail art pen for typography
- High-gloss top coat to secure the design
DIY Tips
Paint your nails with a solid white base and let it dry thoroughly. Using a black nail art pen, write or draw your chosen words or phrases. This design invites creativity—opt for bold, statement-making words that resonate with your style. Finish with a high-gloss top coat to ensure durability and shine.
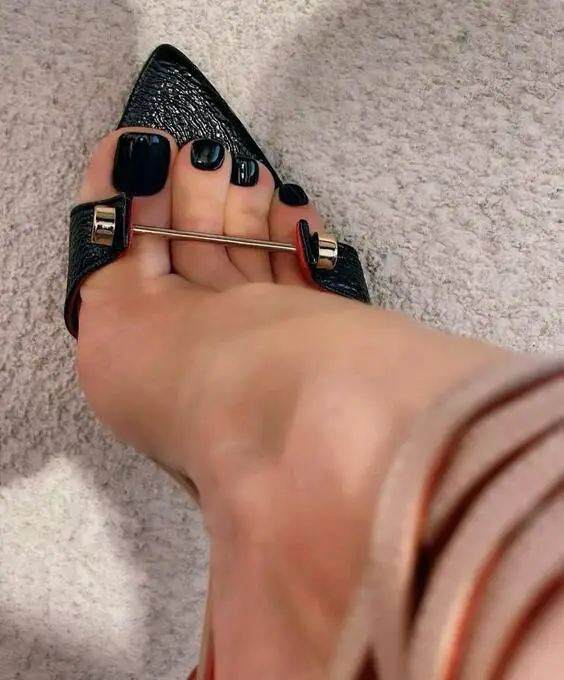
Sophisticated Black with a Touch of Gold
Here we see an elegant black toe nail polish design that utilizes minimal gold accents to create a sophisticated look. This style is particularly suited for formal occasions or for anyone who prefers their fashion statements to be subtle yet impactful.
- Consumables:
- Black nail polish
- Gold striping tape or a gold nail art pen
- Top coat for a smooth, glossy finish
DIY Tips
Apply two coats of black nail polish for a deep, rich base. Once dry, use gold striping tape or a nail art pen to add thin lines of gold for a touch of elegance. Finish with a top coat to enhance the shine and ensure the longevity of your pedicure.
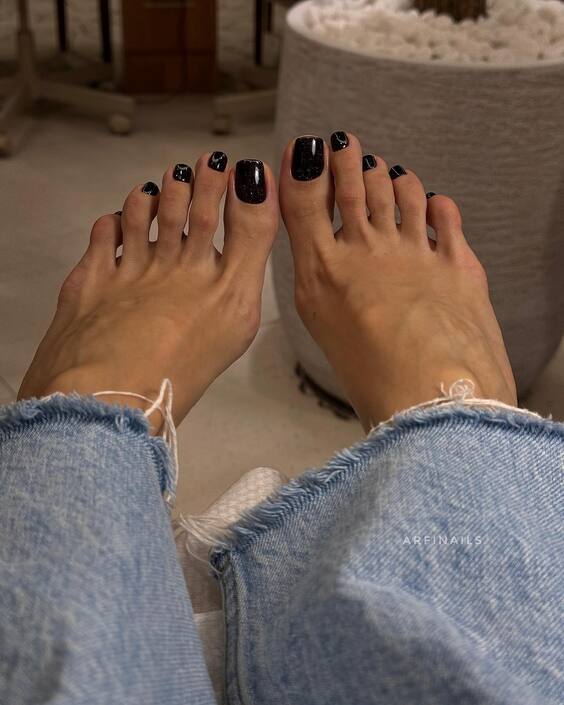
Casual Denim Companion
This look pairs well with casual denim, featuring solid black toe nails that are both chic and versatile. The simplicity of the design makes it a perfect choice for everyday wear, effortlessly complementing any outfit.
- Consumables:
- Black gel polish for a long-lasting look
- Gel top coat for a sleek finish
DIY Tips
Begin with a base coat to protect your nails. Apply a black gel polish in two thin layers, curing under a UV lamp after each application. Finish with a gel top coat for a smooth, durable finish that complements your casual style.
Sleek and Stylish Monochrome
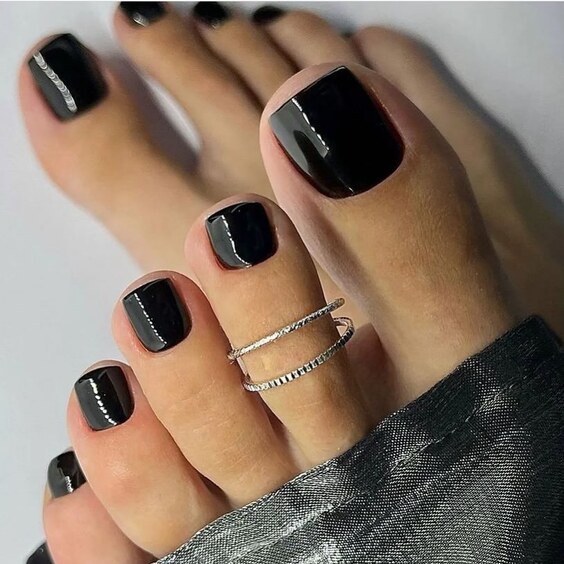
This sophisticated design showcases classic black toe nail polish in a sleek monochrome style. The glossy black nails are perfectly accented with a nude base, creating a striking contrast that is both elegant and timeless. This look is ideal for those who appreciate minimalism with a chic twist.
- Consumables:
- Nude nail polish as the base
- High-gloss black polish
- Quick-dry top coat for a sleek finish
DIY Tips
Begin with a base coat of nude polish. Once dry, apply a high-gloss black polish on the tips, creating a smooth, even layer. Seal the design with a quick-dry top coat to enhance the gloss and ensure longevity.
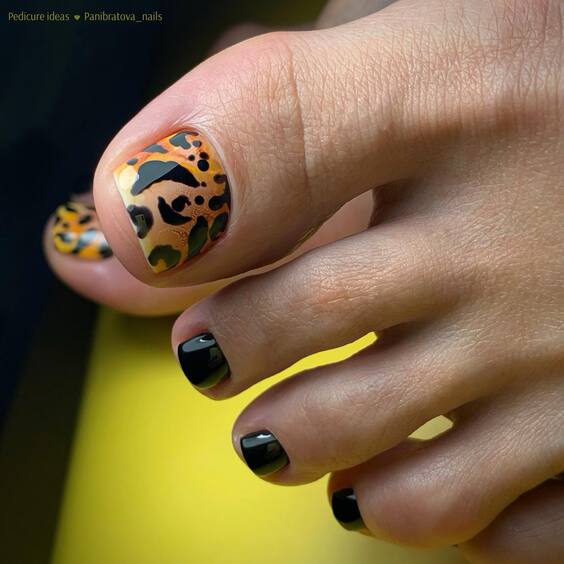
Exotic Leopard Print
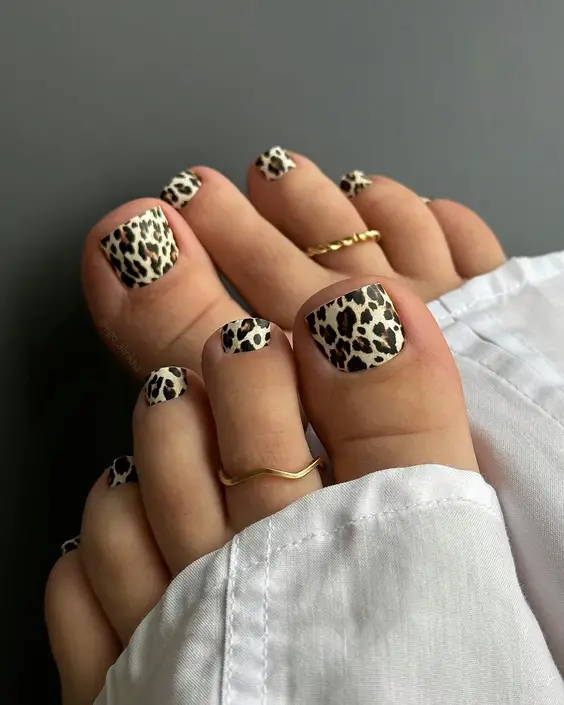
Leap into a wild aesthetic with this bold leopard print design. Mixing black toe nails with design and natural spots, this look makes a daring statement, perfect for those looking to add an exotic edge to their style.
- Consumables:
- Nude nail polish for the base
- Black and brown polishes for the spots
- Small dotting tool or a fine brush
- Top coat for protection and shine
DIY Tips
Apply a nude base coat. Using a small dotting tool, create irregular black spots, then add smaller brown spots around them to mimic leopard print. Ensure the spots are randomly placed to achieve a natural look. Finish with a top coat to seal and shine.
Vibrant Pink Zebra Stripes
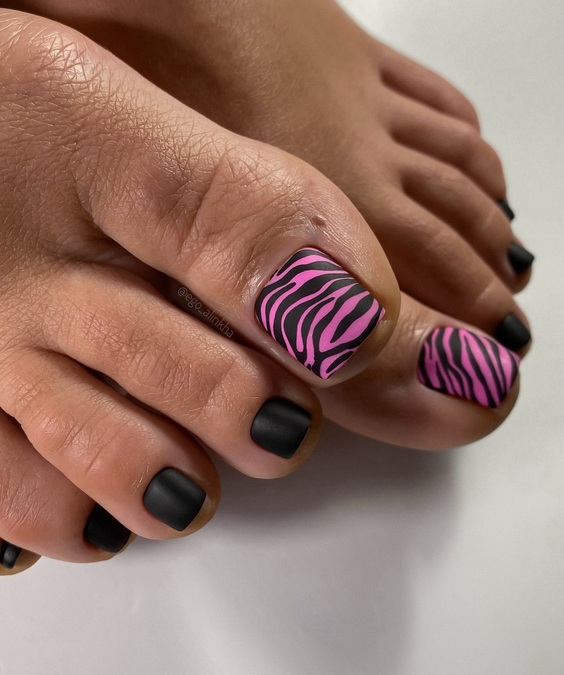
This design turns heads with its vibrant pink zebra stripes on a select few nails, contrasting with solid black toe nails. It’s a playful yet stylish choice that blends classic patterns with a splash of color, perfect for summer or spring.
- Consumables:
- Matte black polish for the base on other toes
- Pink nail polish for the striped design
- Black polish for the stripes
- Matte top coat for a contemporary finish
DIY Tips
Paint the base of the selected nails in pink. Use a thin brush to draw black zebra stripes over the pink. For the other toes, apply a matte black polish. Finish all nails with a matte top coat to unify the designs with a modern matte texture.
Geometric Elegance
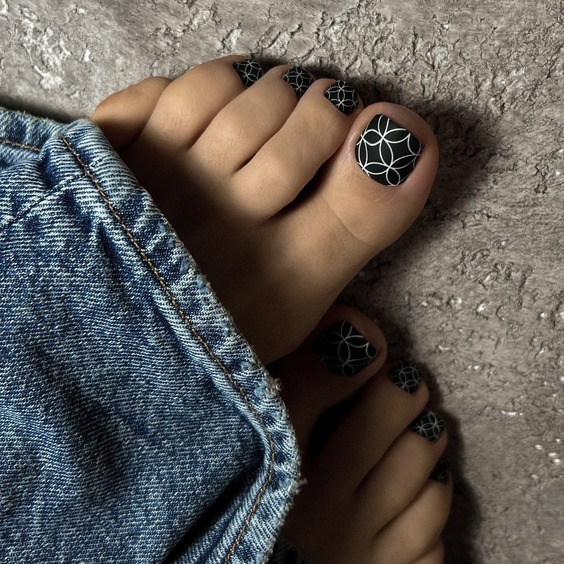
This design features an intricate geometric pattern on a dark base, offering a sophisticated and contemporary look. The clean lines and subtle complexity of the pattern make it an excellent choice for those seeking a modern, yet understated style.
- Consumables:
- Black nail polish for the base
- White nail art pen for geometric patterns
- High-gloss top coat to enhance the design
DIY Tips
Start with a black polish as the base. Once dry, use a white nail art pen to carefully draw geometric patterns. This design requires precision, so take your time to create clean lines. Finish with a high-gloss top coat to protect the design and add shine.
Floral Black
This toe nail design uses a black base to highlight detailed white floral patterns, creating a striking contrast. It’s perfect for those who appreciate the beauty of floral designs but want a more dramatic and bold look.
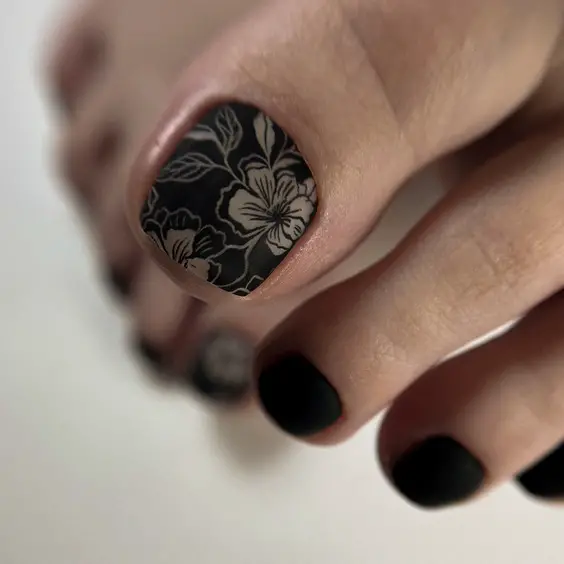
- Consumables:
- Black nail polish for the base
- White nail art pen or stickers for floral designs
- Matte top coat for a modern finish
DIY Tips
Apply a black base coat and let it dry completely. Use a white nail art pen to add delicate floral patterns, or apply floral stickers for a quicker alternative. Finish with a matte top coat to contrast the glossy black base and bring out the intricate details of the floral design.
Classic Leopard Print
Leopard print remains a timeless choice, and this design pairs it with solid black nails to keep the look trendy and balanced. The natural pattern provides a touch of the wild while maintaining an air of classic fashion.
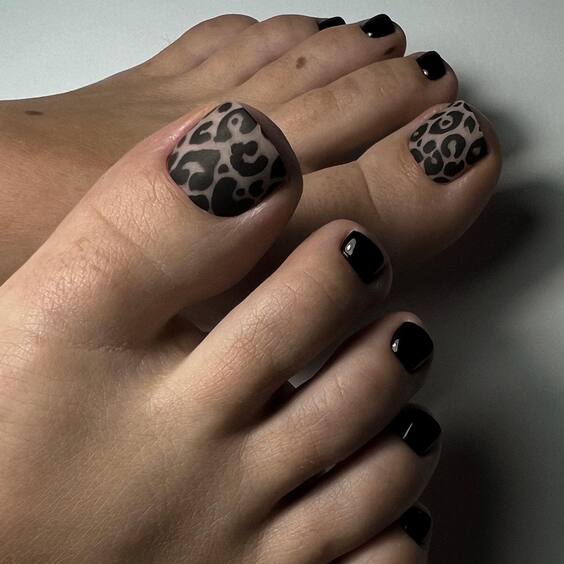
- Consumables:
- Black nail polish for the base on other toes
- Nude polish as the base for the leopard spots
- Black and brown polishes for the spots
- Top coat for durability and shine
DIY Tips
Apply a nude polish as the base on the toes designated for leopard print. Use a small brush to dab on black and brown spots, creating the distinctive leopard pattern. Apply black polish on the remaining toes. Finish all toes with a top coat to ensure the designs last and to add a glossy finish.
Sophisticated Leopard
This leopard print design pairs classic black with bold leopard spots, creating a sophisticated yet daring look. Perfect for those who want to add a wild touch to their appearance while maintaining an air of elegance.
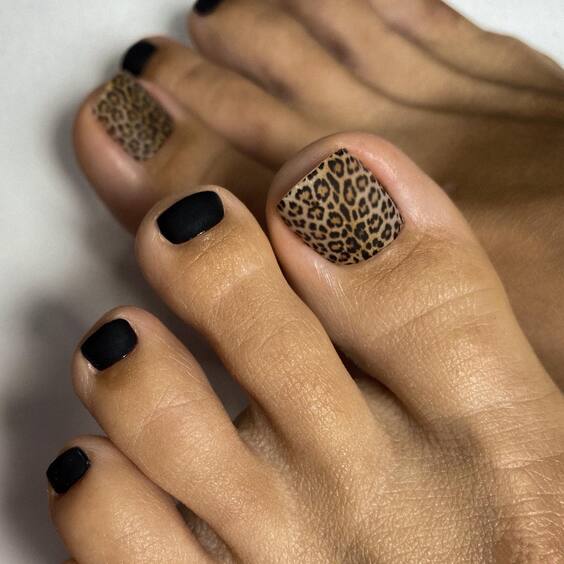
- Consumables:
- Black nail polish for the solid nails
- Nude polish as the base for leopard spots
- Black and gold polishes for detailing
- Top coat for a glossy finish
DIY Tips
Apply nude polish as the base on the toes where leopard spots are desired. Use a small brush to create black borders around irregularly shaped gold spots to form the leopard pattern. Paint the remaining toes with solid black polish. Apply a top coat to all nails to enhance durability and shine.
Glittering Galaxy
Embrace the night sky with this galaxy-inspired nail design featuring deep black enhanced with sparkling glitter. This look is ideal for evening events or for anyone who loves a bit of sparkle and wants their toes to stand out.
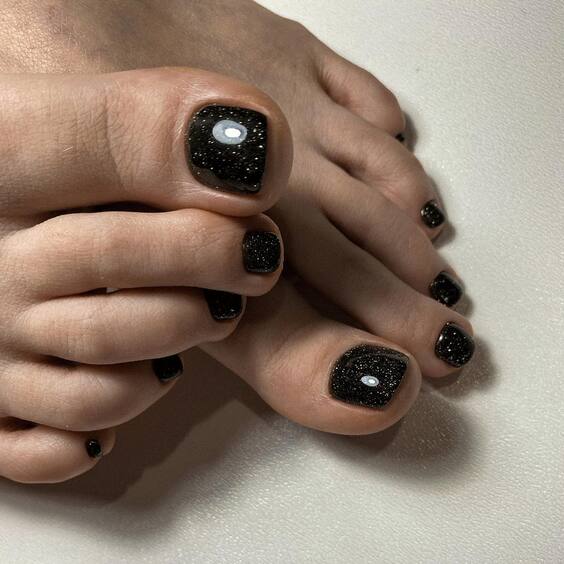
- Consumables:
- Black nail polish for the base
- Silver glitter polish
- Small dotting tool for more precise glitter placement
- High-gloss top coat to seal in the glitter
DIY Tips
Start with a black base on all toes. While the polish is still tacky, apply silver glitter polish. For added precision, use a dotting tool to place larger glitter flakes strategically. Finish with a high-gloss top coat to secure the glitter and give your toes a shiny, durable finish.
Conclusion
We have explored various black toenail designs that blend classic elegance with modern trends, offering something unique for every style preference. From the untamed allure of leopard prints to the mesmerizing sparkle of galaxy nails, these designs provide a perfect way to express your personal style through your pedicure. Whether you’re attending a formal event or just enhancing your everyday look, black toenail art offers versatile and striking options to ensure your feet are always in style.

