23 Stunning Brown Fall Nails: Elegant Designs for Autumn
As the crisp autumn air settles in, it’s the perfect time to revamp your nail game with some stunning fall brown nail designs. Brown, with its rich and warm undertones, is an ideal color to embody the essence of fall. In this article, we’ll explore a variety of nail designs that are perfect for the season, each one unique and eye-catching.
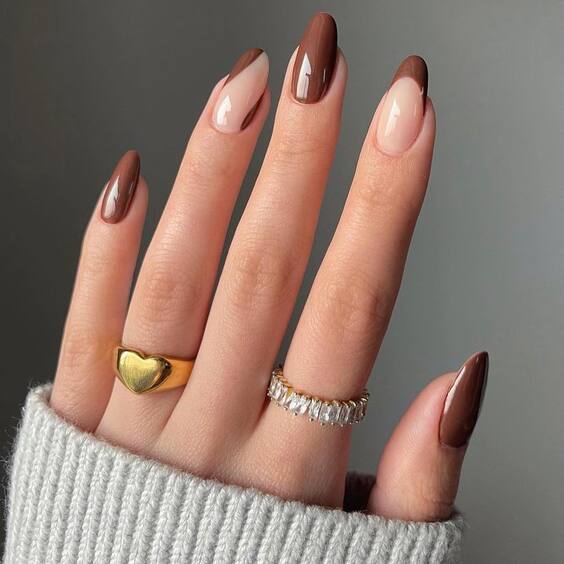
Classic Brown French Tips
This sophisticated design features a classic French tip with a twist. The tips are painted in a deep, chocolate brown, creating a striking contrast with the nude base.
- Materials Needed:
- Nude base polish (e.g., OPI Nail Lacquer in “Samoan Sand”)
- Chocolate brown tip polish (e.g., Essie Nail Polish in “Wicked”)
- Thin nail brush for precision
- Top coat for a glossy finish
- DIY Instructions:
- Apply a nude base coat and let it dry.
- Using a thin brush, carefully paint the tips in chocolate brown.
- Seal the design with a top coat.
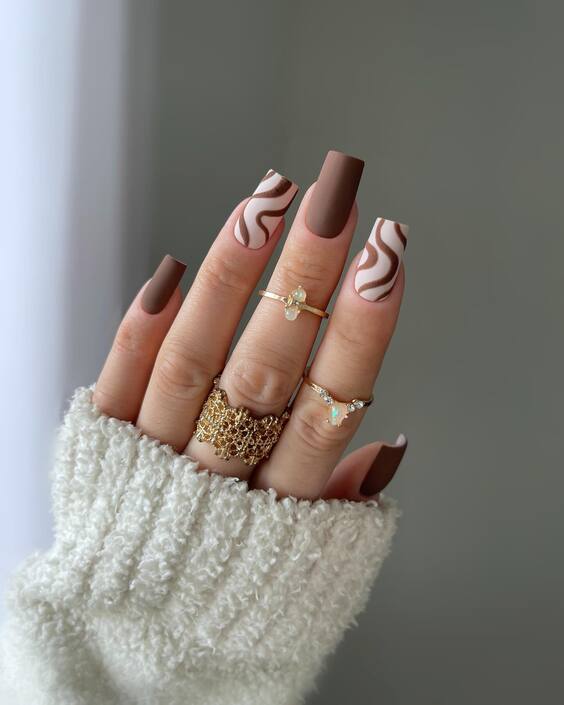
Swirling Browns with Matte Finish
This design showcases a combination of matte and glossy finishes with swirling patterns, giving a modern and stylish look.
- Materials Needed:
- Matte brown polish (e.g., Zoya Nail Polish in “Lou”)
- Glossy light brown polish (e.g., Sally Hansen Miracle Gel in “Buff and Tumble”)
- Thin nail art brush for swirls
- Matte top coat
- DIY Instructions:
- Apply the matte brown polish as the base.
- Use the nail art brush to create swirls with the glossy light brown polish.
- Finish with a matte top coat to maintain the matte look.
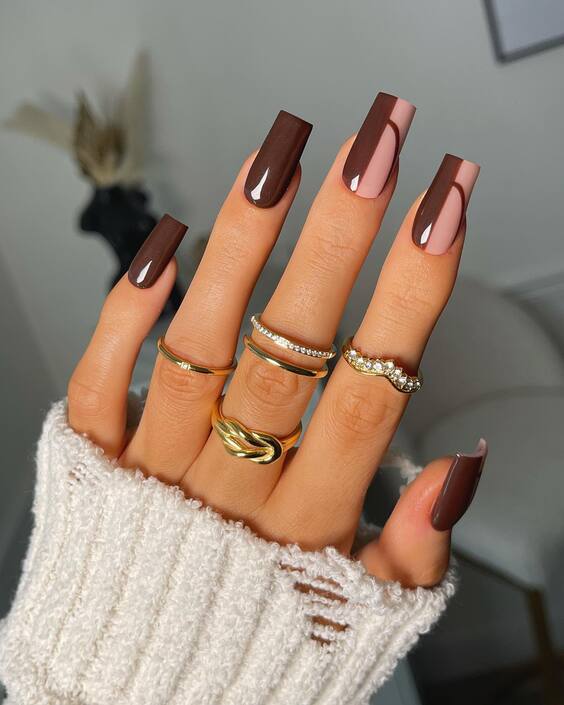
Glossy Brown with Nude Accents
Combining glossy brown with nude accents, this design is perfect for those who love a bit of shine with subtle contrast.
- Materials Needed:
- Glossy brown polish (e.g., Chanel Le Vernis Longwear Nail Colour in “Particulière”)
- Nude polish for accents (e.g., Deborah Lippmann Gel Lab Pro in “Fashion”)
- Thin nail art brush
- Top coat
- DIY Instructions:
- Paint your nails with the glossy brown polish.
- Use the nude polish to add accent lines or shapes.
- Apply a top coat for a high-shine finish.
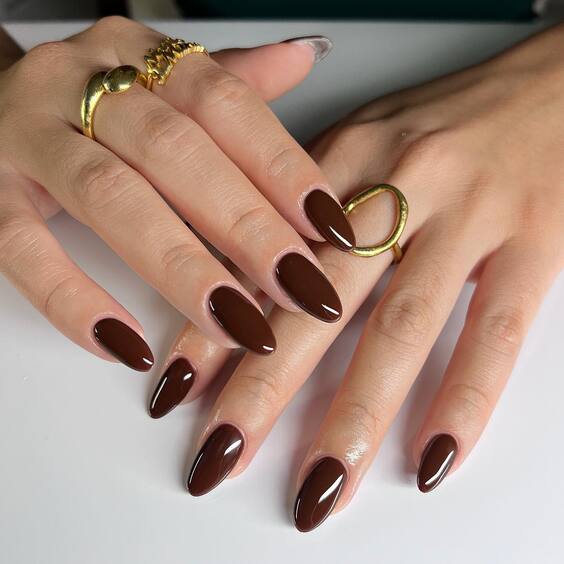
Dark Brown Almond Nails
These dark brown almond-shaped nails exude elegance and simplicity, making them perfect for any occasion.
- Materials Needed:
- Dark brown polish (e.g., Essie Nail Polish in “Little Brown Dress”)
- Almond nail file for shaping
- Top coat for added shine
- DIY Instructions:
- Shape your nails into an almond shape using the file.
- Apply two coats of dark brown polish.
- Finish with a top coat for extra durability and shine.
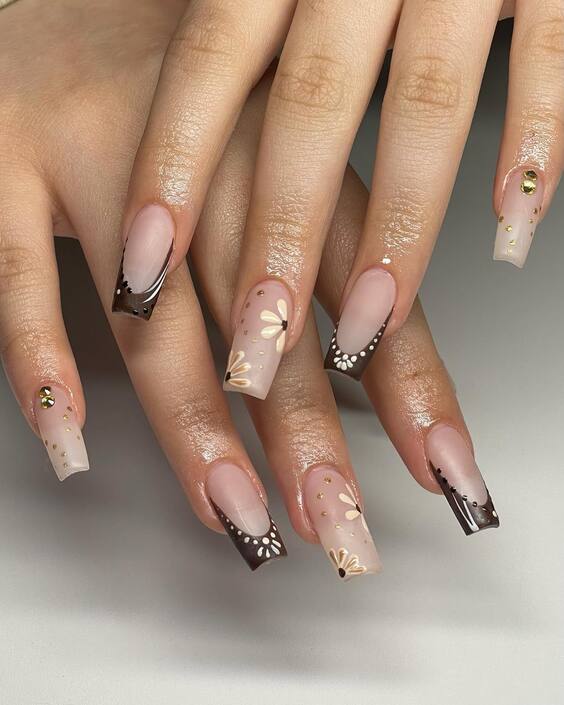
Floral Brown French Tips
A delicate floral design paired with brown French tips creates a feminine and charming look.
- Materials Needed:
- Nude base polish (e.g., OPI Nail Lacquer in “Bubble Bath”)
- Brown tip polish (e.g., Essie Nail Polish in “Cliff Hanger”)
- White and gold nail art pens for floral designs
- Top coat
- DIY Instructions:
- Apply the nude base coat and let it dry.
- Paint the tips with brown polish.
- Use the white and gold nail art pens to draw small flowers on the tips.
- Seal the design with a top coat.
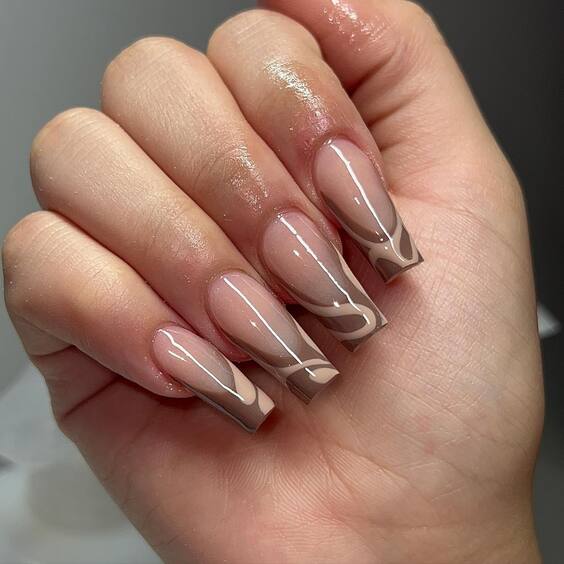
Abstract Brown Lines
This design features abstract brown lines over a clear base, creating a minimalist yet artistic look.
- Materials Needed:
- Clear base polish
- Brown nail art pen or thin brush
- Top coat
- DIY Instructions:
- Apply the clear base coat and let it dry.
- Draw abstract lines with the brown nail art pen.
- Seal with a top coat for a polished finish.
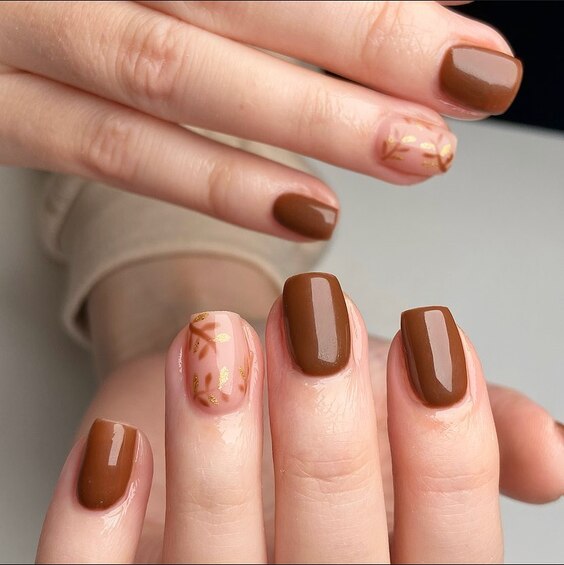
Leafy Brown and Gold Accents
Combining brown with gold leaf accents, this design captures the autumn vibe perfectly.
- Materials Needed:
- Brown polish (e.g., Essie Nail Polish in “Playing Koi”)
- Gold leaf foil
- Nail glue
- Top coat
- DIY Instructions:
- Apply the brown polish and let it dry.
- Apply nail glue where you want the gold leaf accents.
- Place the gold leaf foil on the glue and press gently.
- Finish with a top coat to secure the foil.
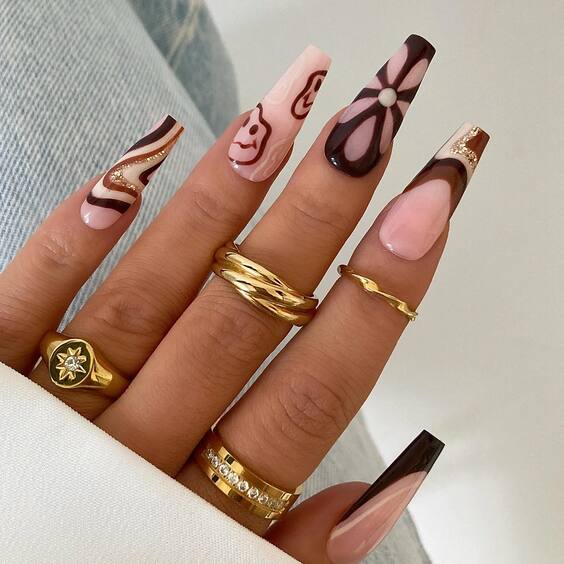
Funky Brown and Pink Patterns
A fun and funky design combining brown and pink with playful patterns.
- Materials Needed:
- Brown polish (e.g., OPI Nail Lacquer in “You Don’t Know Jacques!”)
- Pink polish (e.g., Essie Nail Polish in “Mod Square”)
- Thin nail art brush
- Top coat
- DIY Instructions:
- Apply the brown polish as the base.
- Use the pink polish to create patterns like dots or stripes.
- Seal with a top coat.
Elegant Brown with Gold Lines
This elegant design features a brown base with fine gold lines, adding a touch of sophistication.
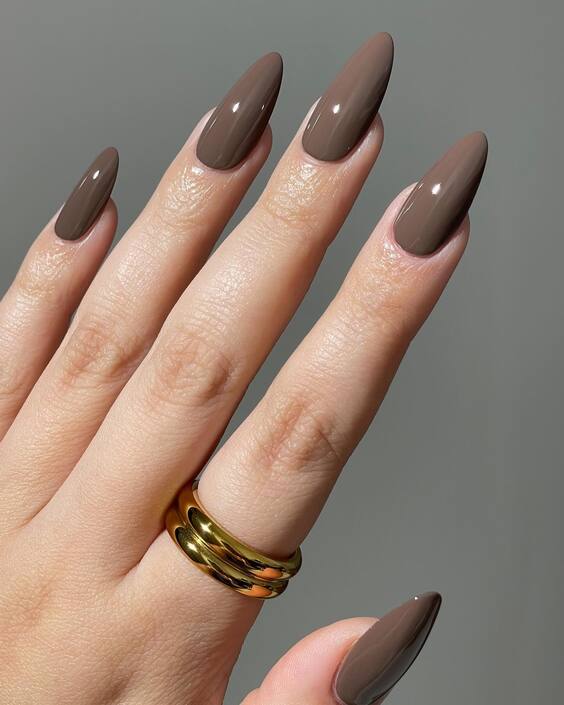
- Materials Needed:
- Brown polish (e.g., Chanel Le Vernis Longwear Nail Colour in “Emblématique”)
- Gold nail art pen
- Top coat
- DIY Instructions:
- Apply the brown polish and let it dry.
- Draw fine gold lines using the nail art pen.
- Finish with a top coat for a glossy look.
Rich Brown with Texture
A rich brown design with textured accents adds depth and interest to your nails.
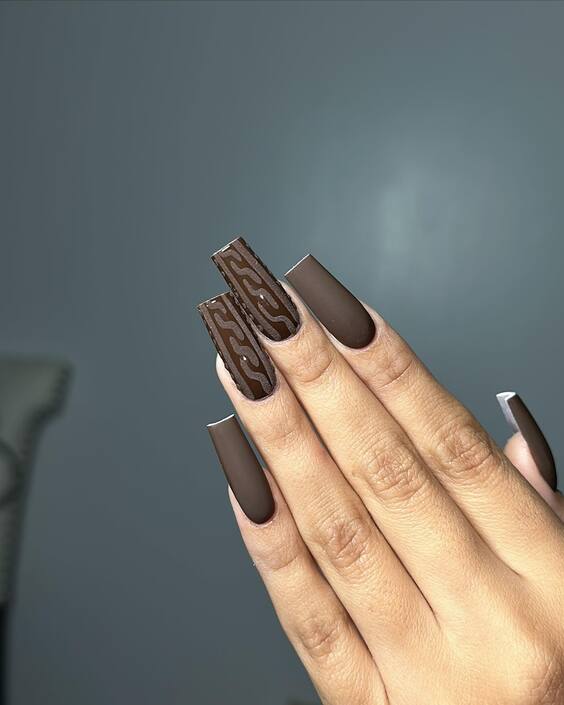
- Materials Needed:
- Rich brown polish (e.g., Essie Nail Polish in “Chocolate Cakes”)
- Textured top coat or nail powder
- Top coat
- DIY Instructions:
- Apply the rich brown polish and let it dry.
- Add the textured top coat or sprinkle nail powder on top.
- Seal with a regular top coat.
Heart Patterned Brown Nails
Hearts and brown tones come together in this charming and romantic nail design.
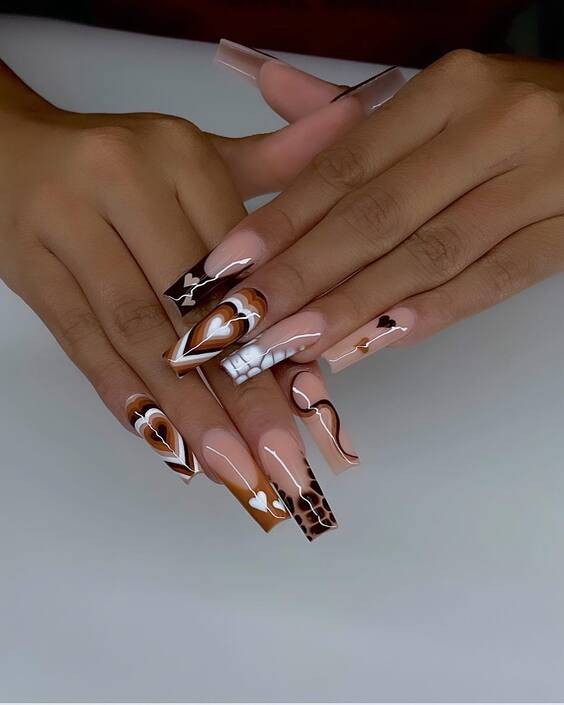
- Materials Needed:
- Brown polish (e.g., OPI Nail Lacquer in “Lincoln Park After Dark”)
- White nail art pen for hearts
- Top coat
- DIY Instructions:
- Paint your nails with the brown polish.
- Draw small hearts using the white nail art pen.
- Apply a top coat to finish the look.
Golden Swirls on Brown
Golden swirls on a brown base create a mesmerizing and luxurious design.
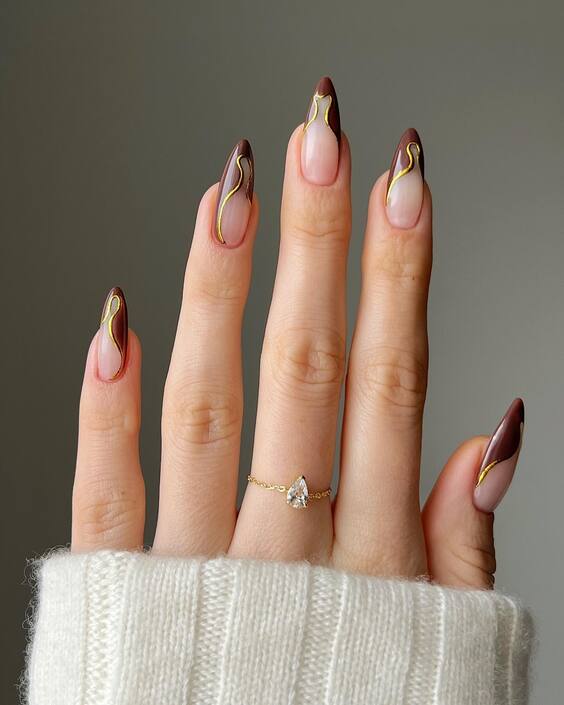
- Materials Needed:
- Brown polish (e.g., Essie Nail Polish in “Wicked”)
- Gold nail art pen
- Top coat
- DIY Instructions:
- Apply the brown polish and let it dry.
- Use the gold nail art pen to draw swirls.
- Seal with a top coat.
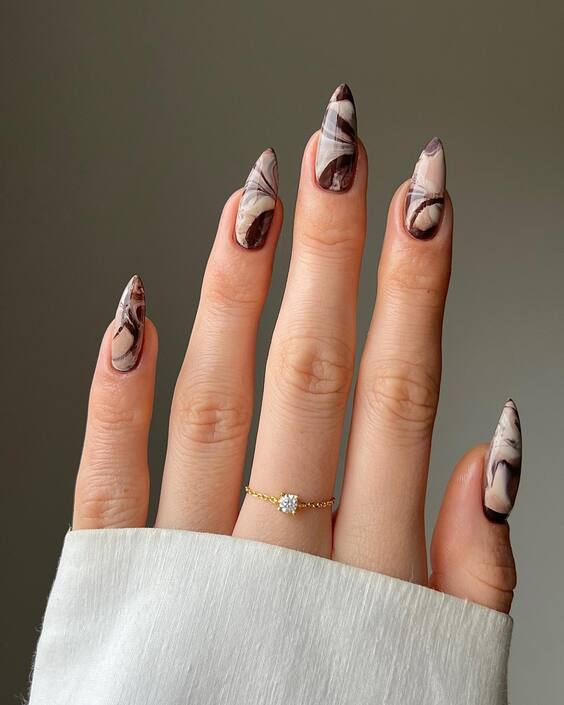
Marbled Brown Nails
This design features a marbled effect with various shades of brown, creating a sophisticated look.
- Materials Needed:
- Multiple shades of brown polish
- Toothpick or nail art brush for marbling
- Top coat
- DIY Instructions:
- Apply a light brown base coat.
- While still wet, add drops of different brown shades.
- Use a toothpick to create a marbled effect.
- Finish with a top coat.
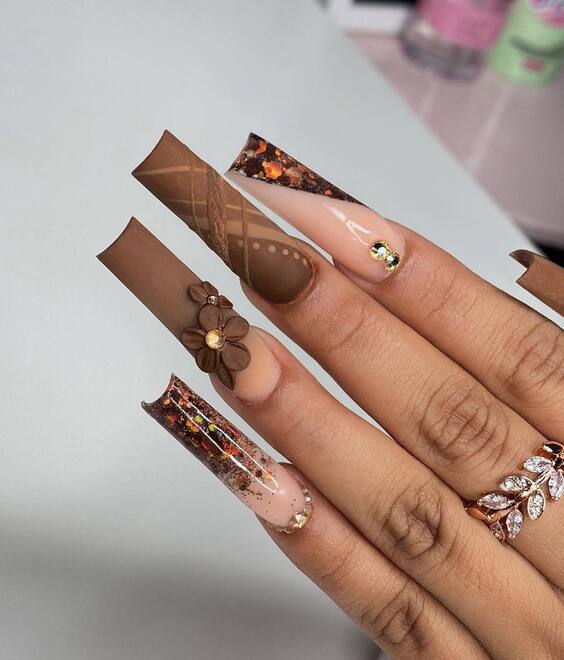
3D Floral Brown Nails
Adding 3D floral elements to a brown base makes for a striking and unique nail design.
- Materials Needed:
- Brown polish (e.g., OPI Nail Lacquer in “A-Taupe the Space Needle”)
- 3D floral nail stickers or decorations
- Nail glue
- Top coat
- DIY Instructions:
- Apply the brown polish and let it dry.
- Use nail glue to attach 3D floral decorations.
- Seal with a top coat to secure the decorations.
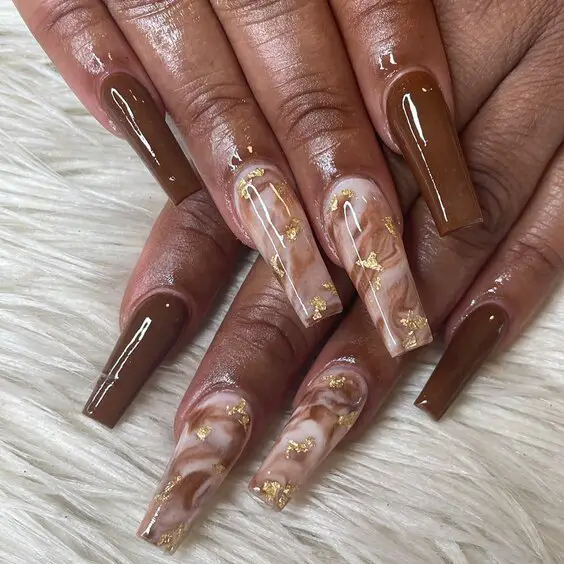
Brown and Gold Foil Nails
Gold foil accents on brown nails create a luxurious and elegant look.
- Materials Needed:
- Brown polish (e.g., Essie Nail Polish in “Mink Muffs”)
- Gold foil
- Nail glue
- Top coat
- DIY Instructions:
- Apply the brown polish and let it dry.
- Use nail glue to apply gold foil accents.
- Finish with a top coat.
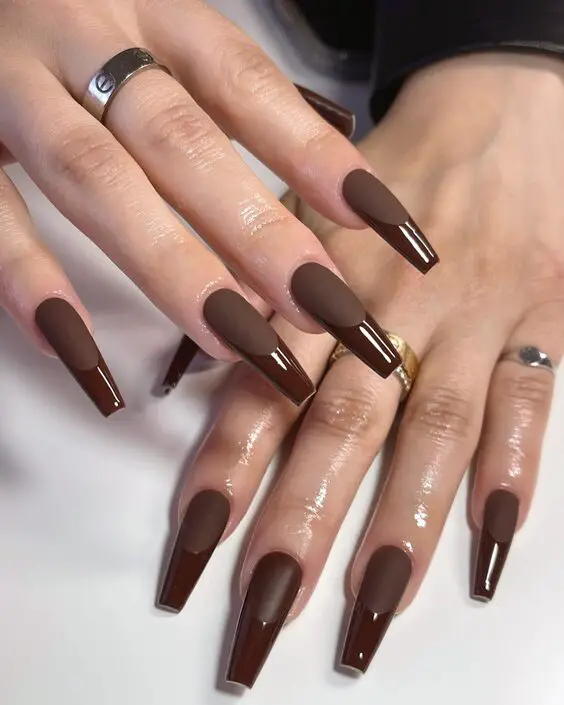
Matte and Glossy Brown Combination
A combination of matte and glossy finishes in various brown shades creates a chic and modern design.
- Materials Needed:
- Matte brown polish (e.g., OPI Matte Top Coat over any brown polish)
- Glossy brown polish
- Top coat for glossy finish
- DIY Instructions:
- Apply matte brown polish to some nails and glossy brown to others.
- Create patterns if desired using the different finishes.
- Seal with a top coat on the glossy nails.
Brown Giraffe Print Nails
Embrace your wild side with a giraffe print design in brown tones.
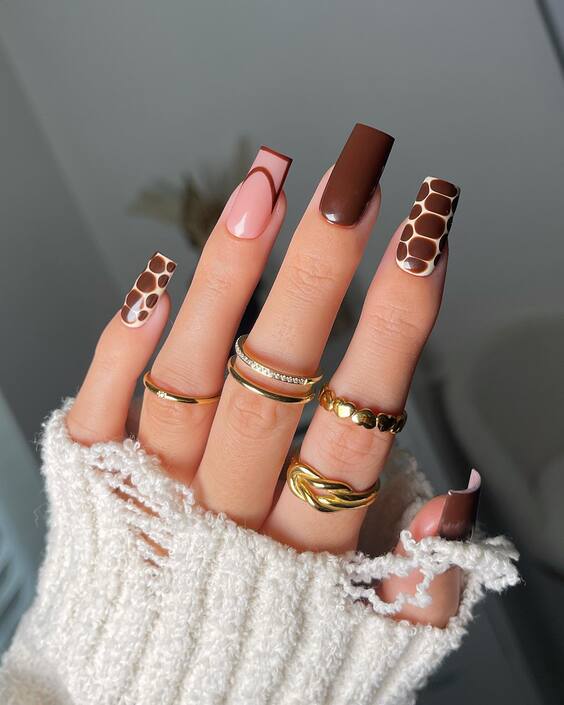
- Materials Needed:
- Brown polish (e.g., Essie Nail Polish in “Hot Cocoa”)
- White polish for spots
- Thin nail art brush
- Top coat
- DIY Instructions:
- Apply the brown polish as the base.
- Use a thin brush to create giraffe spots with white polish.
- Seal with a top coat.
Swirled Brown and Beige Nails
Swirled patterns in brown and beige create a soft and elegant design perfect for fall.
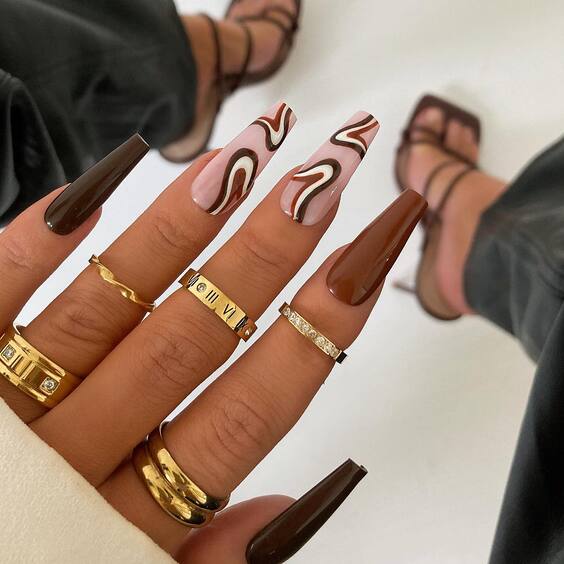
- Materials Needed:
- Brown polish (e.g., OPI Nail Lacquer in “Squeaker of the House”)
- Beige polish (e.g., Essie Nail Polish in “Sandy Beach”)
- Thin nail art brush
- Top coat
- DIY Instructions:
- Apply the brown polish as the base.
- Use the beige polish to create swirls with a thin brush.
- Finish with a top coat.
Playful Squirrel Nail Art
This playful design features a cute squirrel on a matte brown base, adding a whimsical touch to your nails.
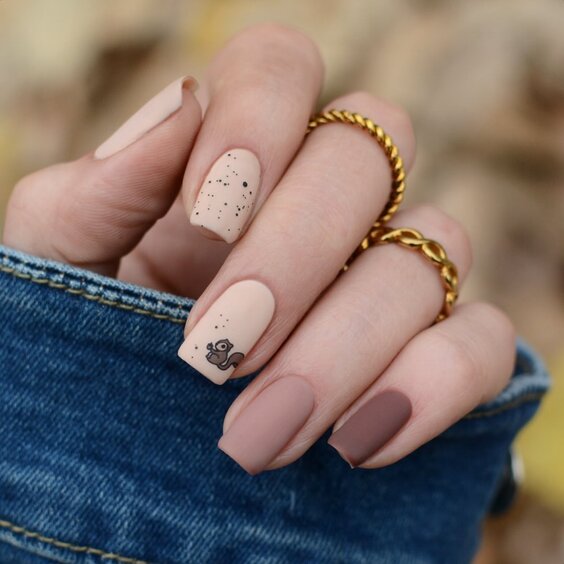
- Materials Needed:
- Matte brown polish (e.g., OPI Matte Top Coat over any brown polish)
- Nail stickers or decals with squirrel design
- Top coat
- DIY Instructions:
- Apply the matte brown polish as the base.
- Attach the squirrel stickers or decals.
- Seal with a matte top coat.
Leopard Print Brown Nails
Leopard print nails in brown tones add a bold and stylish touch to your manicure.
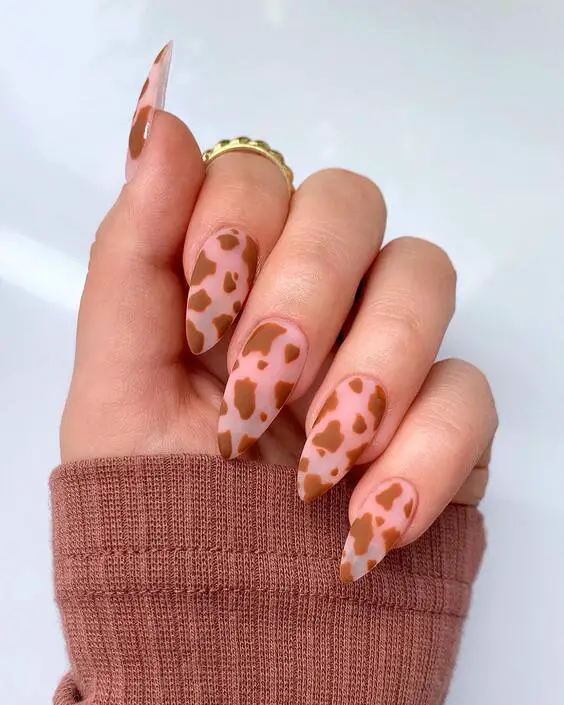
- Materials Needed:
- Brown polish (e.g., Essie Nail Polish in “Don’t Sweater It”)
- Black polish for spots
- Thin nail art brush
- Top coat
- DIY Instructions:
- Apply the brown polish as the base.
- Use a thin brush to create leopard spots with black polish.
- Seal with a top coat.
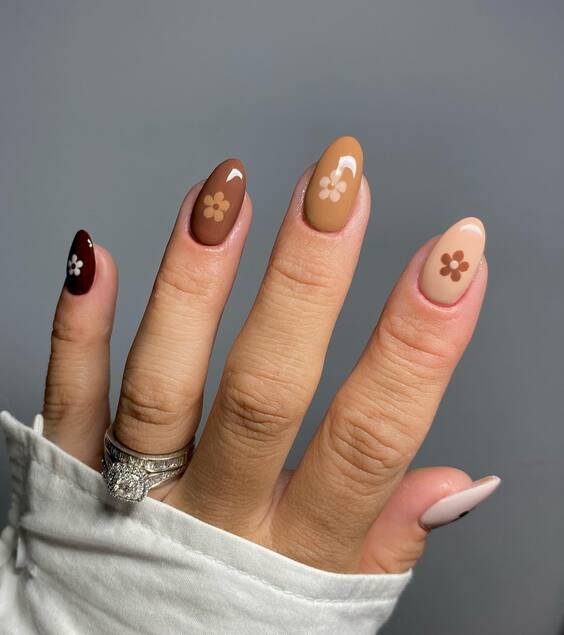
Delicate Floral Brown Nails
Delicate floral designs in various brown shades create a soft and feminine look.
- Materials Needed:
- Multiple shades of brown polish
- Thin nail art brush for flowers
- Top coat
- DIY Instructions:
- Apply a base coat with the lightest brown shade.
- Use other shades to create delicate flowers with a thin brush.
- Finish with a top coat.
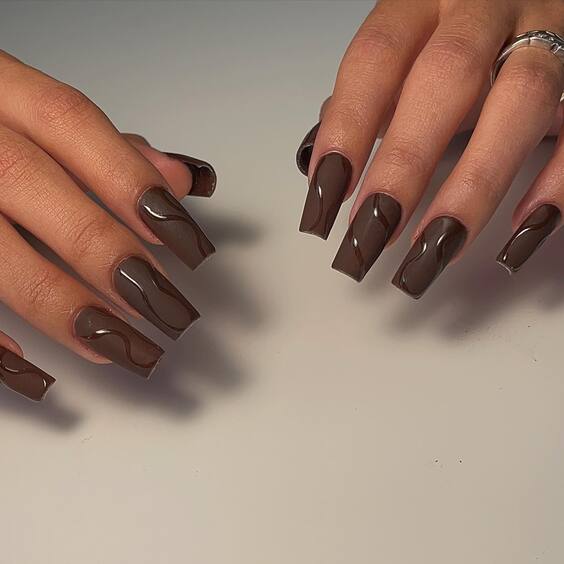
Glossy Brown Nails with Swirls
Glossy brown nails with subtle swirl designs add a touch of elegance and sophistication.
- Materials Needed:
- Glossy brown polish (e.g., OPI Nail Lacquer in “Brown to Earth”)
- Thin nail art brush for swirls
- Top coat
- DIY Instructions:
- Apply the glossy brown polish as the base.
- Use a thin brush to create swirls with a lighter brown shade.
- Seal with a top coat.
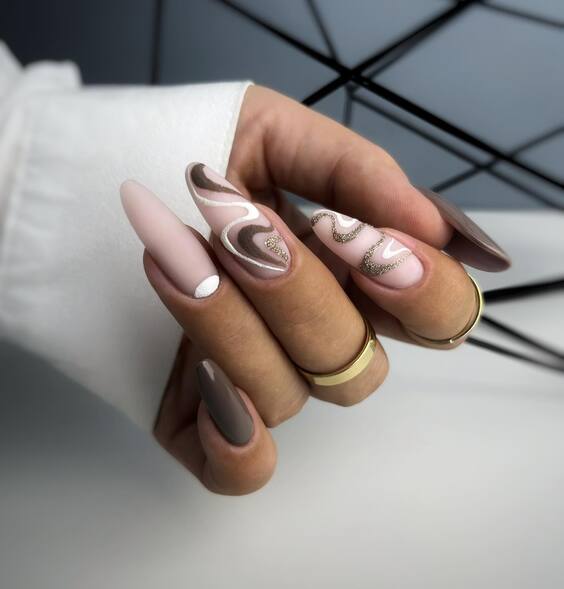
Glittery Brown and Beige Nails
A combination of glittery brown and beige nails creates a glamorous and festive look.
- Materials Needed:
- Brown polish (e.g., Essie Nail Polish in “Partner in Crime”)
- Beige polish (e.g., OPI Nail Lacquer in “Be There in a Prosecco”)
- Glitter top coat
- Thin nail art brush
- DIY Instructions:
- Apply the brown polish on some nails and beige on others.
- Add glitter top coat on the beige nails for a festive touch.
- Seal with a regular top coat.
Conclusion
Brown fall nails are a versatile and stylish choice that can be tailored to suit any personality and occasion. Whether you prefer simple and elegant designs or bold and playful patterns, there’s a brown fall nail design for everyone. Try out these designs at home or visit your favorite salon to embrace the autumn vibes with your nails.

